How contracts & payouts work
Every contract in Drive Your Way is priced by a consistent set of rules. Once you know them, you can look at any job on the board and see not just what it pays, but why — and whether it is actually worth your time after costs.
The base rate: distance
The foundation of every payout is distance, and distance is measured along the actual road route — not as the crow flies. That single detail is why two jobs to equally "far" districts can price very differently, and why a delivery that looks close on the map sometimes pays like a long haul. Learning to read that gap before you accept is one of the first real skills in the game.
Cargo multipliers
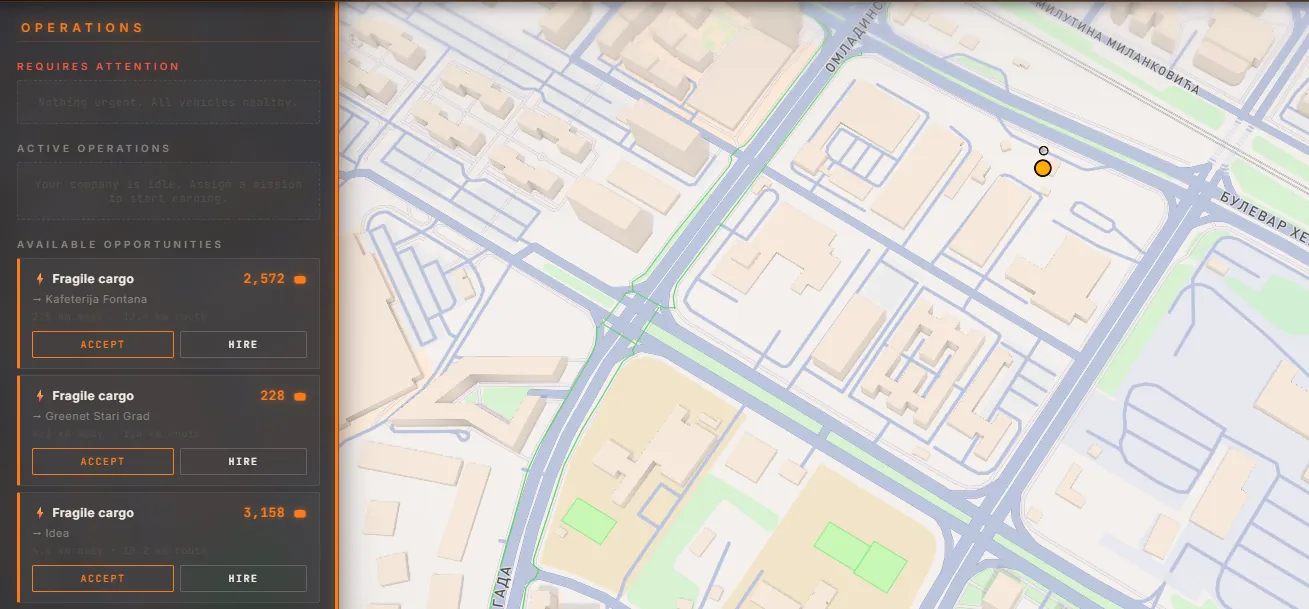
The cargo type then scales the base. Delicate and time-sensitive loads pay more, because they are harder to deliver intact — the premium is the game paying you to take on risk:
| Cargo | Pays | The catch |
|---|---|---|
| Furniture, bulky goods | Below baseline | Cheap, and eats cargo volume |
| General freight | Baseline | Low risk, low premium |
| Food | Modest premium | Forgiving cargo to learn on |
| Perishables | Better | Damage-sensitive on rough routes |
| Electronics | Strong | Expensive to damage |
| Fragile goods | The best regular premium | And the riskiest cargo on the board |
| Special event cargo | Far above anything else | Rare, always carried solo |
Which vehicle can carry which cargo matters here — the premium categories need bigger or specialist vehicles. See the cargo guide.
Multi-stop premiums
Simple point-to-point hauls are the baseline. Contracts with more logistics to them pay a premium on top: split deliveries and multi-pickup runs earn noticeably more, and round-trip jobs — out and back with cargo both ways — pay the best of all. The premium compensates for the extra planning and the longer exposure of the cargo to the road. It also rewards the players willing to think a few stops ahead.
Combine bonuses
Independent of any single contract, you can stack several compatible jobs into one run using the route planner. A combined run pays a bonus that grows with every additional contract in the group, so the more you can stack into one trip, the better each kilometre pays. The limits are physical: everything must fit your vehicle at once, and the cargo categories must tolerate each other (fragile loads will not ride with heavy freight, liquids ride alone). Combining is the single biggest lever on your hourly earnings once you know the city — the drag-and-drop planner lets you order the stops and even pick a route style per leg.
Integrity tiers: what you actually collect
The number agreed in the contract is the maximum. What you collect depends on the condition of the cargo at handover:
| Cargo integrity at delivery | Payout |
|---|---|
| 90% or better | 100% of the contract |
| 75–89% | 80% |
| 50–74% | 50% |
| Below 50% | High risk of failure — you may collect nothing |
Integrity is lost gradually on risky routes and sharply in accidents. How to protect it is covered in the integrity & accidents guide.
What that means on the road
Take a fragile load across town. Deliver it in good condition and you collect the full contract. Scuff it on a fast, rough route and you drop a tier — the same job, the same distance, the same fuel burned, for materially less money. Let it slide past the bottom threshold and you are gambling with the whole contract — a delivery in that state may well fail outright, paying nothing, while the fuel and the wear stay firmly on your bill.
This is the decision the game keeps putting in front of you. The aggressive route is genuinely faster. It is also the one that costs you a tier. Knowing when to take it — and when the cargo in the back means you absolutely should not — is what separates a driver who is busy from one who is profitable.
Think in net, not gross
The payout is only half the ledger. Against it sit fuel, vehicle wear — repairs get brutal in the big classes — and, if a driver ran the job for you, their cut. A heavy truck posting an impressive gross on a long haul can easily net less than a modest van working across town. Plenty of players learn this the expensive way, by buying the biggest truck they can afford and wondering where the money went. The running costs guide and driver guide cover the cost side.
Where contracts come from
The board holds a pool of about 10 contracts at a time, drawn for real places on the map. You can refresh the pool, but refreshes are limited to a handful per half hour — so treat a refresh as a decision, not a nervous tic. As your fleet grows, the skill shifts from picking the one best job to keeping every vehicle on a good one.